Starting October 14, 2025, Microsoft will no longer provide security updates for Windows 10. Therefore, all desktop computer/laptops at JGU must be updated to the new Windows version 11.
At JGU, there are currently about 4,500 desktop computer/laptops administered by the ZDV with Windows version 10. In many cases, a one-time update is sufficient. However, in some cases, the entire computer must be replaced, as the minimum system requirements are not sufficient for an update.
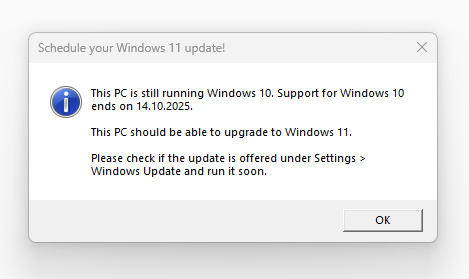
Since the end of January, JGU employees will be informed via a system notification whether an update to Windows 11 is required. This notification will appear every time after a login and will only disappear when the update has been carried out. If no notification appears, Windows 11 is already installed on your desktop computers/laptop or the computer is managed directly by ZDV.
What happens after October 14, 2025?
Desktop computers/laptops that are not updated to Windows 11 will be deactivated by November 1, 2025, as they pose a significant security risk to the university's IT infrastructure. After that, it will no longer be possible to log in to a computer with Windows 10.
More information: https://www.en-zdv.uni-mainz.de/windows-11-update/
![]()
More news from the Data Center → may be found here.