
Befor you can print, copy or scan, there are a few points to bear in mind.
Requirements
Print- and Copy Account of the Data Center
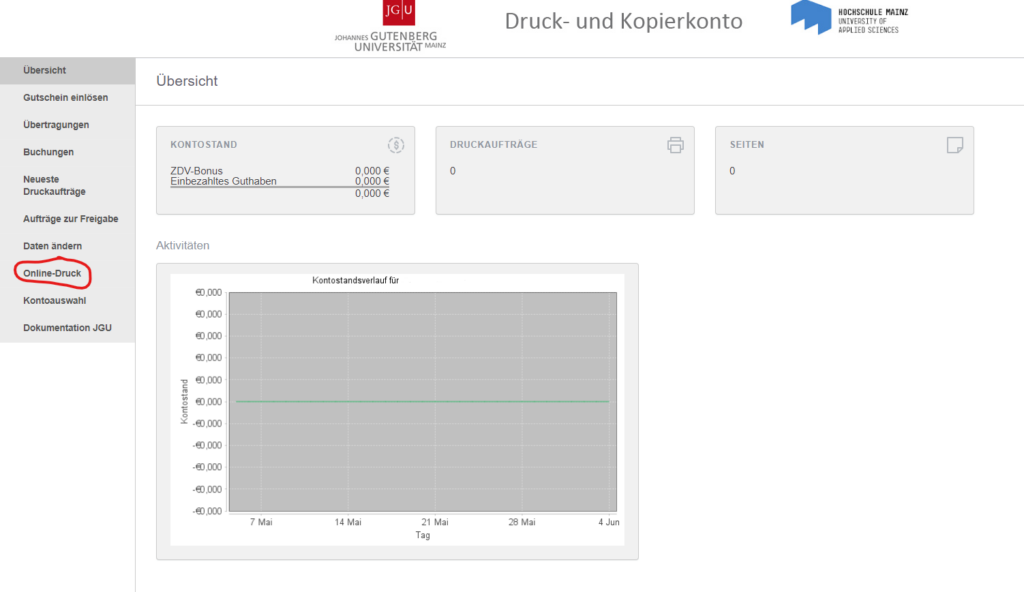
- The current account balance on the home page.
- Self-paid credit and the Data Center bonus (only for JGU students) are shown separately.
- An overview of all previously processed orders and printed pages appears, and you can see directly from a graphic when the last changes to the account balance took place.
More Features: https://www.en-zdv.uni-mainz.de/your-print-and-copy-account-operating-instructions/
Payment App of the Studierenden Werk Mainz
In addition to the ZDV printing and copying account, you also need the Studierendenwerk Mainz payment app. To be able to print and copy, you must transfer credit from the app to the JGU print and copy account.
- Make sure you already have credit in your payment app.
- Tap Add print credit at one of the service terminals.
- Enter your JGU account login name and password.
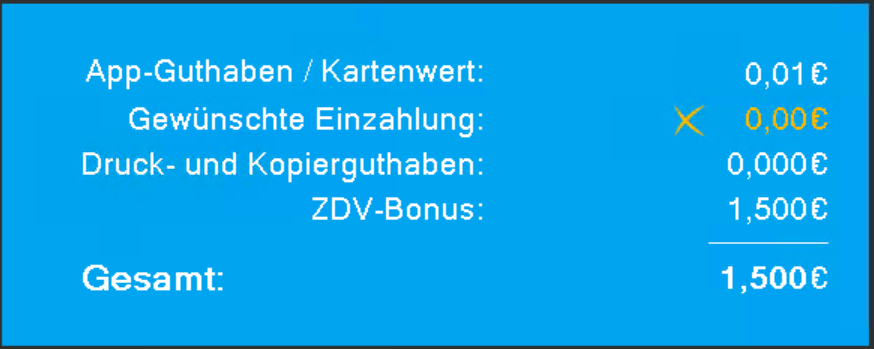
- An overview will be displayed:
App credit/card value: 0,00*.€
Desired deposit: 0,00 €
Print and copy credit: 0,00 €
Data Center bonus: 1,50 €
Total: 1,50 €
Online Printing
This is how it works:
- Log in with your JGu account at https://drucken.zdv.net/.
- Choose the tile Online Printing:
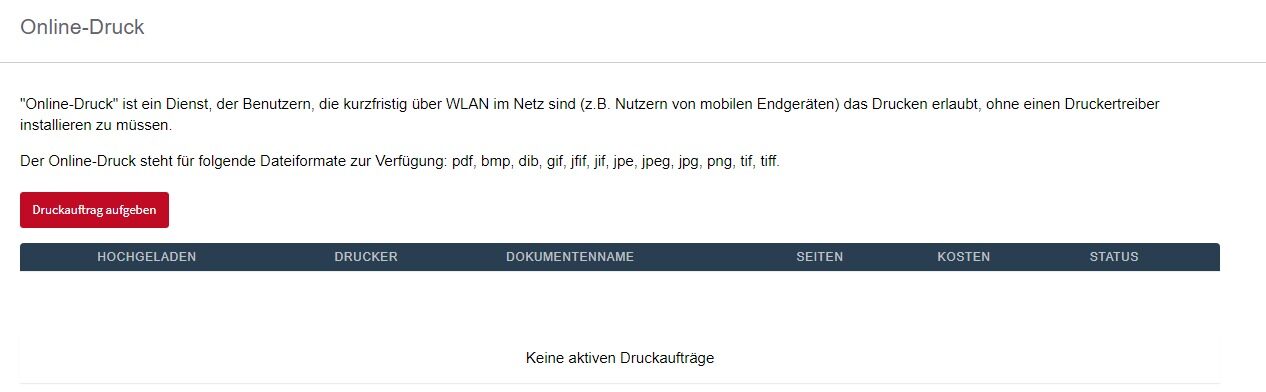
- You will now see your active print jobs and can send files to the printers unter the red tile "submit Print Job". Online printing is available for the followng file formats: pdf, bmp, dib, gif, jfif, jif, jpe, jpeg, jpg, png, tif, tiff...:
- Next, choose wether you want to print your file in color, black and white or if you are printing multiple pages on both sides (duplex printing).
- Choose how many copies of your file you want.
- Upload your file and click Upload and Complete.
- Now you can log into any printer with your JGU login name and the PIN ,you created for your print account at a service terminal, and print your uploaded files.
JGU Employees Copying: Application for Business Printing and Copying
New employees who wish to print for work-related purposes at the university must first submit a request for a settlement object/cost center.
Employees
- Log in to the JobRouter application: https://digitale-dienste.uni-mainz.de/jobrouter/
- Click the plus sign in the top-left corner. Under General, select the field Aply for ZDV services.
- Fill out the form and click Send.
- We will process the requested assignment. This may take 2–3 days.
- Select the requested settlement object/cost center at https://drucken.zdv.net/abrechnungskonto.
- Save your entry. The setting remains in effect until you make a different selection.
External Users and Students
- Please fill out the application: https://download.uni-mainz.de/zdv/Antrag_Kontenzuordnung.pdf
- We will make the requested assignment. This may take 2–3 days.
- Select the requested settlement object/cost center at https://drucken.zdv.net/abrechnungskonto.
- Save your entry. The setting remains in effect until you make a different setting.
Institute: Application for an Institute Copy Card
- We assign to each authorized person the corresponding accounting object/cost center (or more, if necessary).
The person can use their own card (or Intrakey key) and use the payment system with all its advantages, including printing on public devices, access to all their own print and copy processes, flexible account switching, etc. - Cards can be shared - with so-called institute copy cards.
These cards are pre-configured by us with a PIN and an accounting object/cost center. One person is entered as the responsible person.
Restrictions:
1.Printing on public devices is not possible.
2.Only the person responsible can view and use the print and copy account.
Change your PIN
- Click on My account in the left menu bar.
- Under Account data you will find information on whether you have a PIN.
- You can change this using the pencil symbol.
- Enter a new six-digit PIN and repeat it.
The PIN may only consist of numbers!
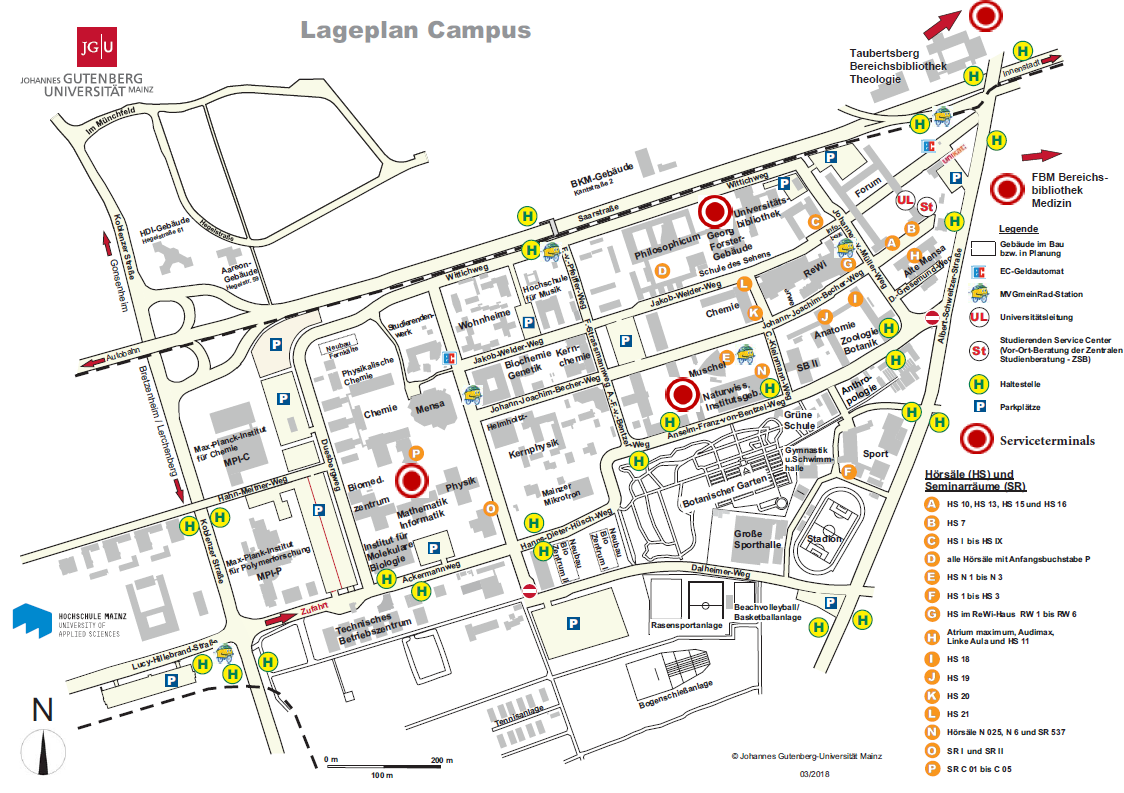
Location of Service Terminals
- Data Center NatFak, in the Data Center Copy Room
- ZB in the Copy Room of the Zentralbibliothek
- BB GFG department library of the Georg Förster Building
- BB MIN department library of Mathemtaics, Computer Sciences, Natural Sciences
- BB UM department library Medicine
- BB Theology department library of Theology
Scanning I Scan2Seafile
With Scan2Seafile you can scan documents at the multifunction devices of the University and send them directly to Seafile.
Seafile is a central sync-and-share platform for students and staff in Rhineland-Palatinate. It allows you to easily and securely manage your data and share it with other users. Files are stored on the university’s own servers, not with third-party providers.
Learn more: https://www.en-zdv.uni-mainz.de/scan-to-seafile-save-scans-directly-to-seafile/
Printing and Copying on different Devices
Kyocera TASKalfa 4002i / 3252 ci
- Quick Guide: Kyocera TA SKalfa 3252ci
- Quick Guide: Kyocera TA SKalfa 4002i
- Copying
- Scanning
- Scanning of an USB-Stick
(german only)
Kyocera TASKalfa 350i
(german only)
EPSON WF-C1759
(german only)