Some servers are only accessible inside the university network. JGU provides an SSH jumphost server you can use to connect to these servers.
For authentication, only → public key authentication is allowed.
First you need to create an SSH key. If you already own an SSH key, you can go to the next step.
A guide on how to create an SSH key can be found → here.
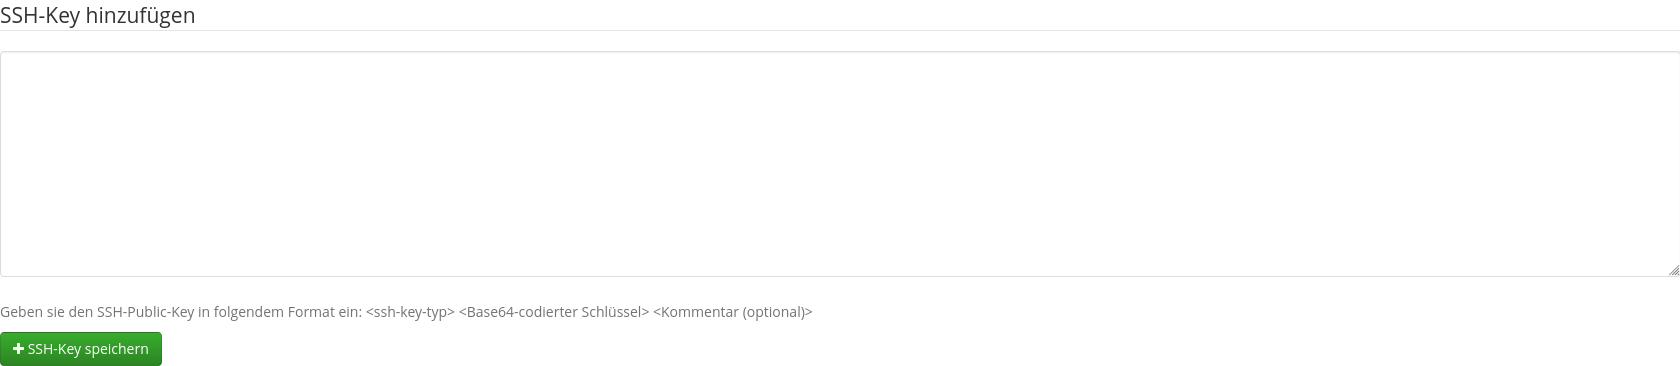
Paste your public key into this input field. The comment of this key must contain SSHGATE. You can edit your key inside the field after you pasted it. An SSH key comment is always at the end of the key. If you want to connect to multiple servers using this authentication you need to separate them using ,.
Example: ... SSHGATE,HPCGATE,HPCLOGIN
💡 The server name declares the servers the key is deployed to.
If the same key should be used on multiple servers all servers must be added to the comment. If multiple keys should be used each key comment must contain the corresponding server name.
When you have finished, click on SSH-Key Speichern.
To connect to a server using SSHGATE as a jumphost use the following command. ssh -J username@sshgate.zdv.uni-mainz.de loginname@Targetserver
The -J option tells ssh to use the first server as a jumphost.
You can add the SSHGATE server to your ssh config file. This way the connection can be called with a shortcut.
To add a shortcut you need to edit the file ~/.ssh/config.
You need to add the following lines.
Host ShortcutName
  User loginname
  HostName Targetserver
  ProxyJump username@sshgate.zdv.uni-mainz.de
After the file is edited you can call the shortcut with ssh ShortcutName.
Since the beginning of September 2019 an installation of ShareLaTeX/Overleaf is available at → https://latex.zdv.uni-mainz.de/ where you may login with your JGU account.
In ShareLaTeX/Overleaf LaTeX source code may be edited online by several users at the same time. The system supports almost all functions of LaTeX, for example inserting pictures, bibliographies and equations.
More information about the system is available here:
Self developed websites and web-applications can be hosted using a web server of the data center.
A complete list of all hosting options is available here.
For users who don't want to develop their own website, the ZDV offers preconfigured WordPress blogs.
Web servers can run a complete LAMP stack. LAMP stands for:
Linux:
the operating system of the server
Apache:
provides the website
PHP (optional):
to execute application code
MySQL/MariaDB(optional):
data management
Apache is a necessary requirement for displaying a website. PHP and MySQL/MariaDB are optional.
The server will be configured according to your requirements. After the Server has been configured, you will receive the login credentials.
ZDV services
domain-name creation with the suffix .uni-mainz.de
provision of operating system and system environment
provision of storage space
network connection
generation and deployment of HTTPS certificates
automatic backups
⚠ A web-server is only provided for institutions of the University Mainz.
By default, every user can create 100 projects with a size of 10 GB each. These limits can be increased individually upon request.
Login
If you are a student/employee at a university in Rhineland-Palatinate, you may use your university credentials to log in. To do so, use the button login.rlp.net in the upper right section on the login screen:
However, the use of the Data Center's GitLab is not restricted to students/employees.
If you do not have a student/employee account, you may register a JGU account and log in with a username and password using the form in the bottom right section on the login screen.
Git via SSH
If you want to push and pull to Git repositories in GitLab via SSH, you need to generate a key pair first.
A tutorial is available at www.en-zdv.uni-mainz.de/ssh-key.
Git via HTTPS with Login name/Password
If you want to push and pull to Git repositories in GitLab via HTTPS, you need to be aware of the following:
Alternatively, you can additionally set a local password on your JGU account (gitlab.rlp.net/-/user_settings/password/edit), if you logged in using login.rlp.net — but we don't recommend that!
Invitations
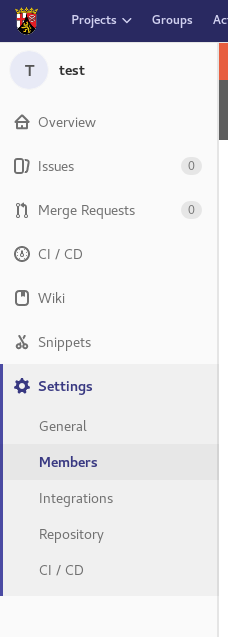
You may also invite other people to your project. Inside your project, click on Settings and on Members:
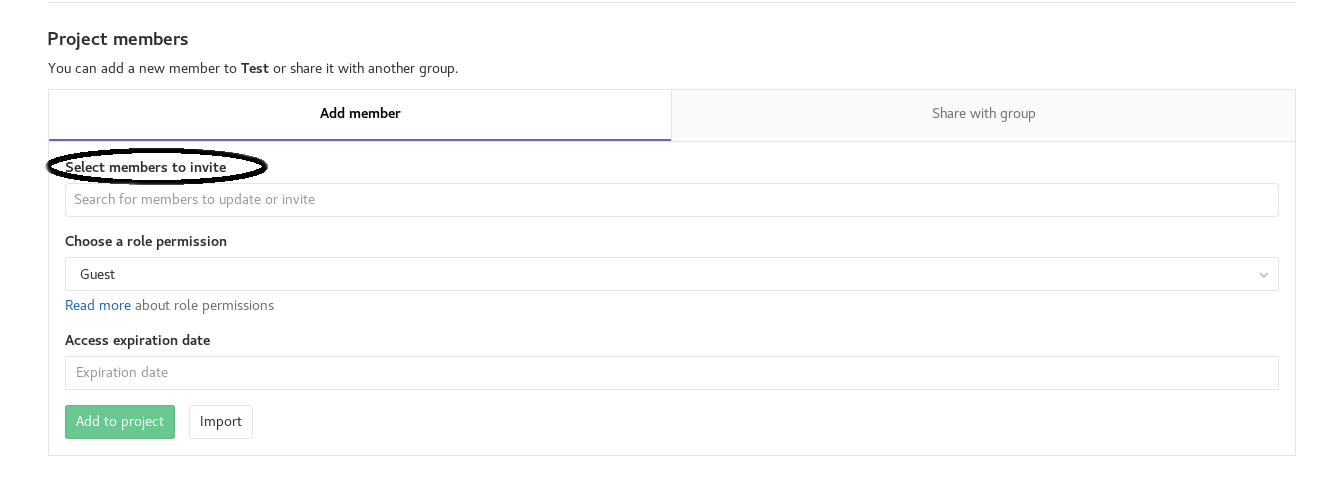
Then click on Select Members to invite:
If the person you are looking for has signed in before, you will be able to search for their name. Otherwise you need to enter an email address. This doesn't need to be an email address of a university. If you choose a non-university address, then the invited person will have to register a JGU account, before they can participate in the project.
Login to Mattermost
Mattermost uses your Gitlab credentials to log in. On your first login you need to authorize Mattermost to use your Gitlab account for authentication.
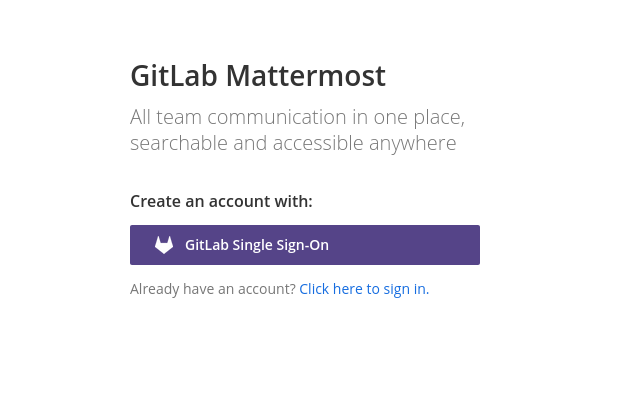
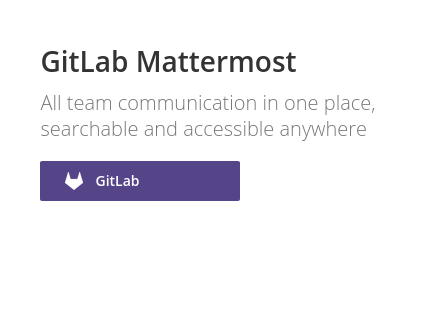
First you need to establish a connection between Mattermost and Gitlab. The dialogue looks different depending if you clicked an invite link or browsed to the side directly.
if following an invite linkbrowse to site
GitLab Single Sign-On or GitLab depending how you opened the site.
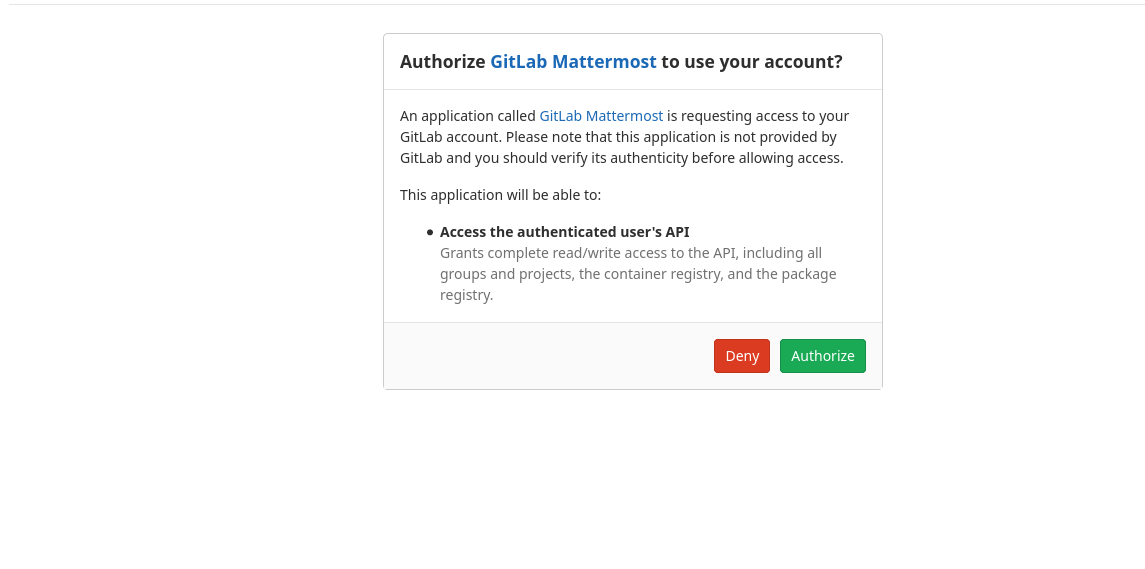
Log in to Gitlab as described above. After logging in you will be asked to authorize Mattermost to your JGU account.
Click on Authorize you will be logged in and forwarded to Mattermost.
A guide on how to use TSM on Windows is only available in German, as work on the English version is still in progress. We apologize for the inconvenience. The guide is available here.
Tivoli Storage Manager (TSM) enables you to do → incremental backups of computers, and to archive files.
Backups facilitate protection and recovery of files, for example after a disk problem or after accidental deletion of files. At the TSM server the files will be overwritten with any new version, and the previous version as well as the newest version will be provisioned on the server. If the previous version is older than 90 days it will be deleted.
If a user deletes a file on his computer, the latest version of the file will be stored on the server for 180 days and earlier versions will be deleted.
Please note: if you save a file with the same name in the same directory as the file that was previously deleted, then the backed-up latest version of the deleted file will be overwritten by the new file at the next backup.
We recommend to make a daily backup of file systems and to exclude directories with many files that change very often (scratch, tmp, ...). If the latest backup of a file system was made more than a year ago, it will be deleted by the Data Center.
A backup is tied to a specific computer.
Archives are made for storing files that are currently not - or only rarely - needed. This enables you to save storage space on local storage media..
In case of a re-setting of the archive system of the university the users of the archive have to transfer the files from the old archive to a new one no later than 3 months after having been notified.
Archives can be access by multiple persons using a password.
Apply for access
Your computer needs to be added as a node to the server. You may apply for login credentials by writing an email to hotline@uni-mainz.de.
You need to provide the following information:
For Backups
A valid email address
Your computer's IP address
Linux
You can get your computer's IP address by typing ip addr. You will see a list of all your network interfaces. Choose your network interface. In most cases this will start with "en" on a wired connection and with "wl" on a wireless connection. Your IP address can be found after the first line starting with inet.
Windows
Type ipconfig into your terminal. We need the Ipv4 address.
FQDN (Fully Qualified Domain Name)
Linux
You can get your FQDN by typing hostname -f inside a terminal.
Windows
Press windows + pause a windows opens the FQDN is the "Full computer name".
Docuware is the central Document Management System (DMS) of the university, which is being used for both scientific and administrative purposes and is run by the Data Center.
The Document Management System serves as a central repository for revision-safe and long-term archiving of digital documents - to be retrieved at any time.
For this we set up Docuware archives, where PDF documents can be stored with structured metadata and indexing fields. Storage can also be configured in an encrypted format in case this is necessary for data privacy.
Documents and files may be flexibly imported into the system from various data sources. Writing and reading access is enabled via the JGU account and is administered using separately configured authorisation concepts for each archive.
Indexing usually happens eitther when new documents are being manually filed into the archive, or when they are being automatically imported. In some cases indexing is configured as a nightly job.
For projects with extensive amounts of data an individually configurable scanning software with barcode recognition is available.
Content access for all archives is available via the web browser and therefore platform independent.
Services of the Data Center
We will counsel regarding the implementation of your requirements, establish archives for you including authorisation schemes and indexing fields and, if required, configure the system for automatic imports and/or nightly indexing.
We will also, if requested, counsel regarding applicable scanners and provide support in case of problems or questions.


 Self developed websites and web-applications can be hosted using a web server of the data center.
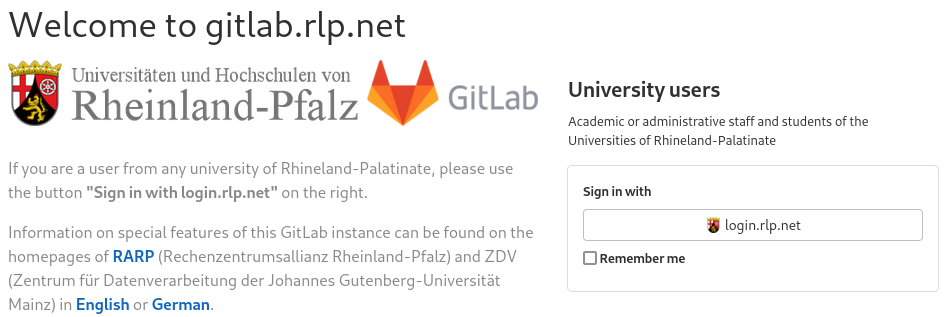
 Tivoli Storage Manager (TSM) enables you to do
  Docuware is the central Document Management System (DMS) of the university, which is being used for both scientific and administrative purposes and is run by the Data Center.