If you would like to be refunded for printing or copying costs, please submit a request.
Submit a Request
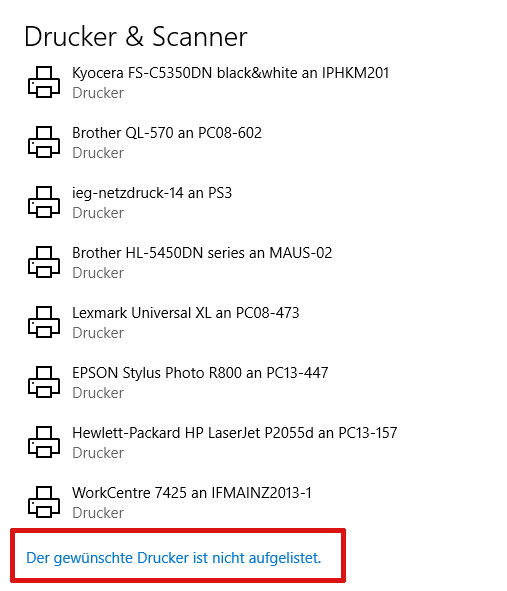
1. Log in to your print and copy account: https://drucken.zdv.net
2. Enter the username and password for your JGU account.
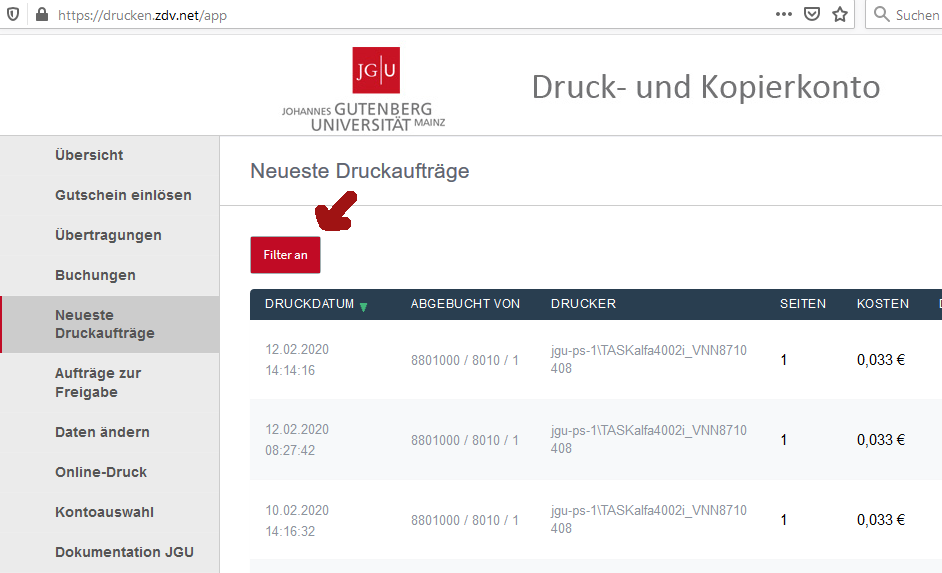
3. Click on the menu item latest print jobs in the left-hand column.
4. If the print or copy job for which you would like to request a refund is not visible, first click on the filter button.
5. A window will open. Click reset.
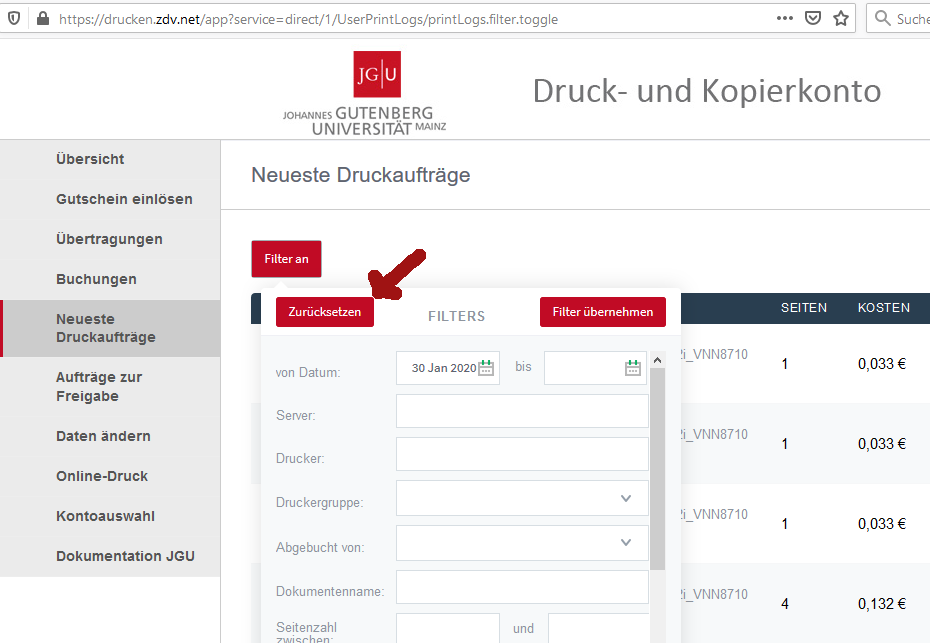
6. You will then see a list of all your print/copy jobs. Select the print/copy job for which you would like to request a refund from this list. Click on request refund.
7. A form page will open where you can request a refund of the total amount or a partial amount (to be specified). Please also provide a reason for the refund.
Notes on Malfunctions and Multiple Jobs
If several identical/similar jobs are not sent due to a problem (e.g., toner empty, paper empty, paper jam), please delete the jobs that are still in the queue. You can cancel them on the device itself. This ensures that they are not automatically printed as soon as the problem is resolved (e.g., refilling toner or paper).
If multiple identical/similar jobs are sent and the first job cannot be processed due to one of the above problems, we will only refund the first job. We will not refund subsequent jobs that you do not delete in time and that are printed after the problem has been resolved.
Deleting Print Jobs that have already been released on different Devices
Epson (WF-C17590)
1. If you have already released the print job but now want to cancel it, press the printer icon at the top left of the screen.
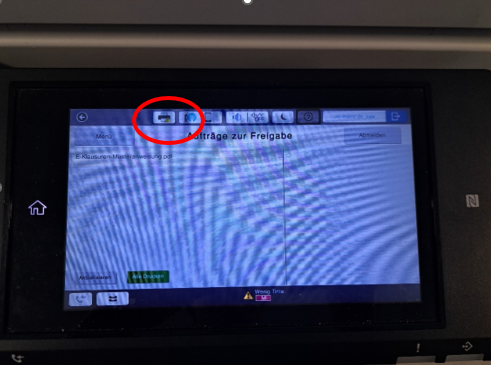
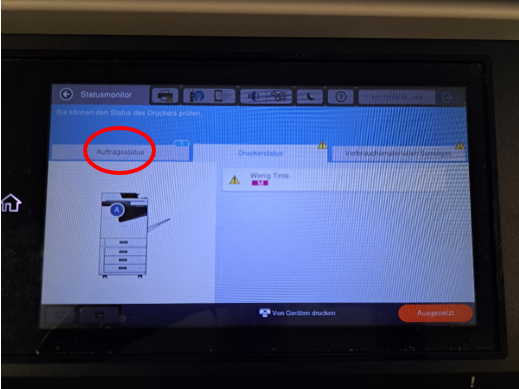
2. The printer status monitor opens. Tap on job status on the left-hand side to access the overview of released print jobs.
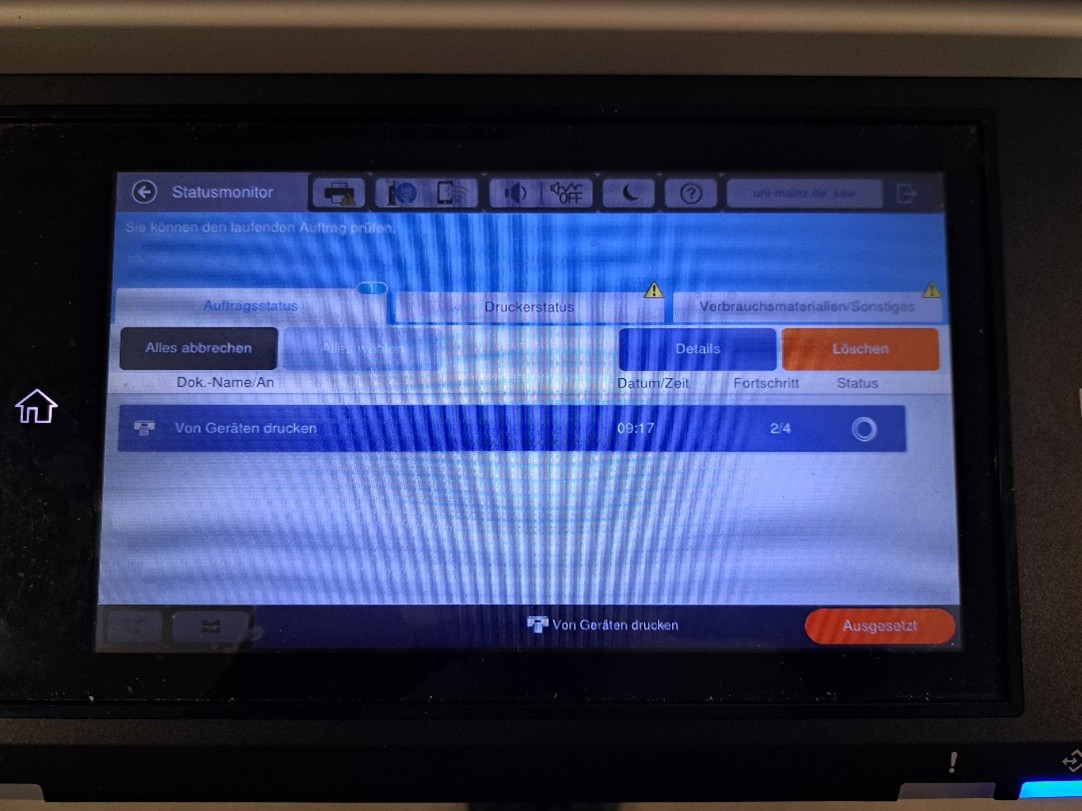
3. Tap on the print job you want to cancel so that it is highlighted in blue, as shown in the image. At the same time, the options details (blue field) and delete (orange field) will appear above the print job list. To cancel the corresponding print job, tap on delete. (If you want to cancel all print jobs, you can also tap cancel all (gray box) on the left side.)
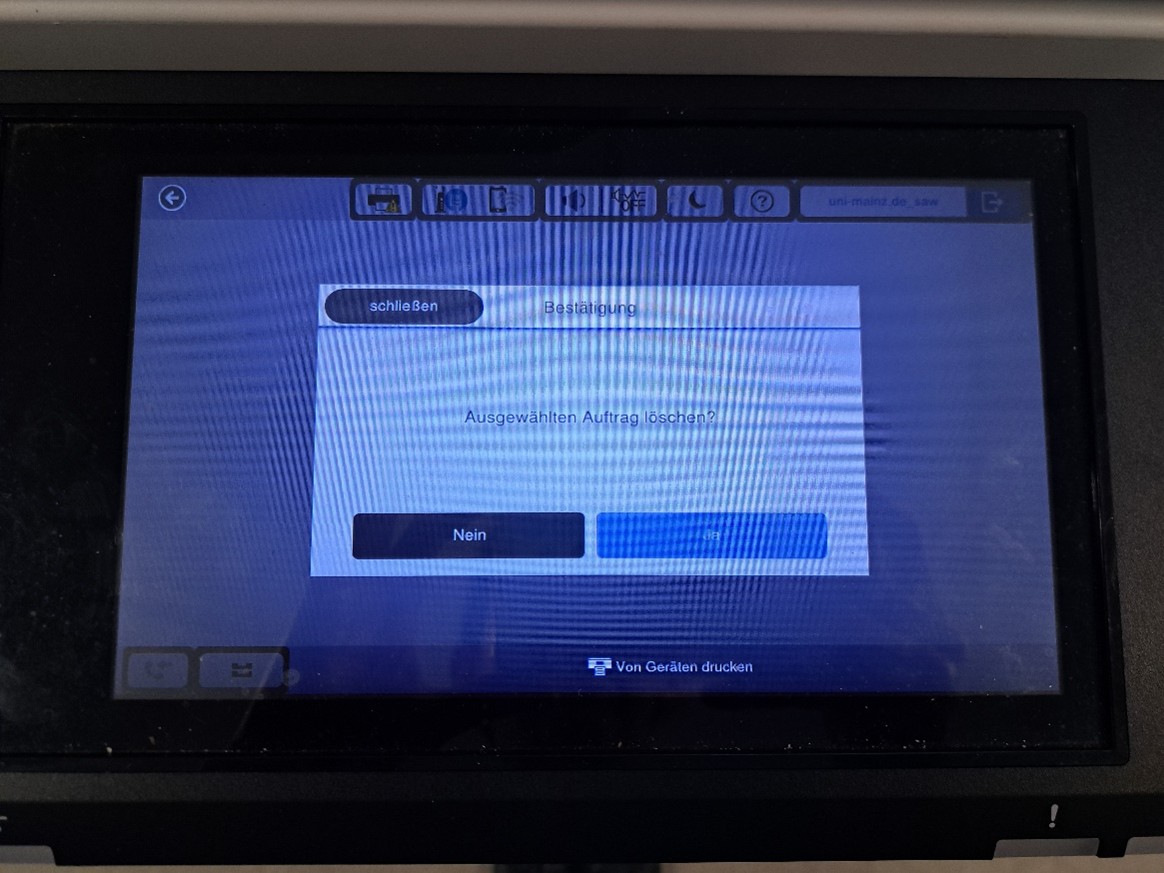
4. A dialog box will then open in which you must confirm that you want to delete the print job. To do this, tap yes.
Kyocera (TASKalfa 4002i)
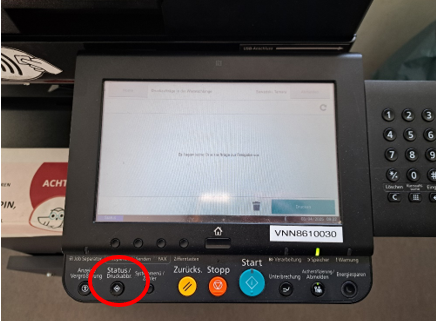
1. If you have already released the print job but now want to cancel it, press status / cancel print in the lower button bar.
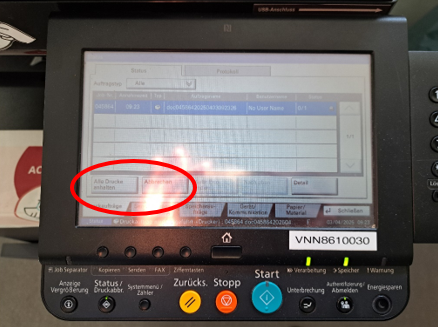
2. An overview of the jobs that have been released for printing will open. Tap on the print job you want to cancel so that it is highlighted in blue, as shown in the image. Then tap cancel directly below the print job list. (If you want to cancel all print jobs, you can also tap pause all printing.)
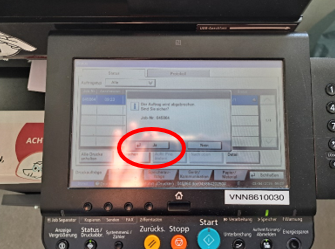
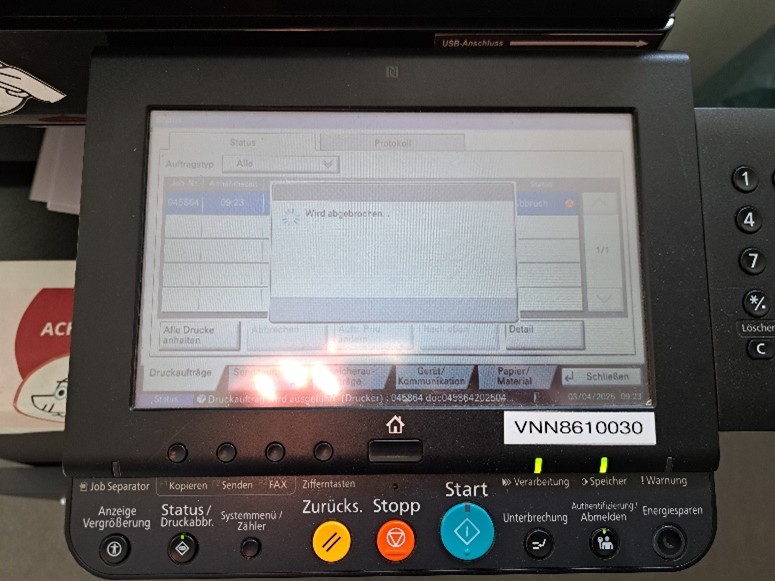
3. Once you have confirmed the cancellation with yes, the order will be canceled.
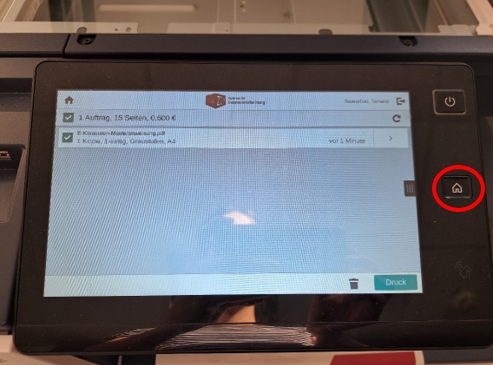
Xerox (AltaLink C8145)
1. If you have already released the print job but now want to cancel it, press the home button on the right side of the screen.
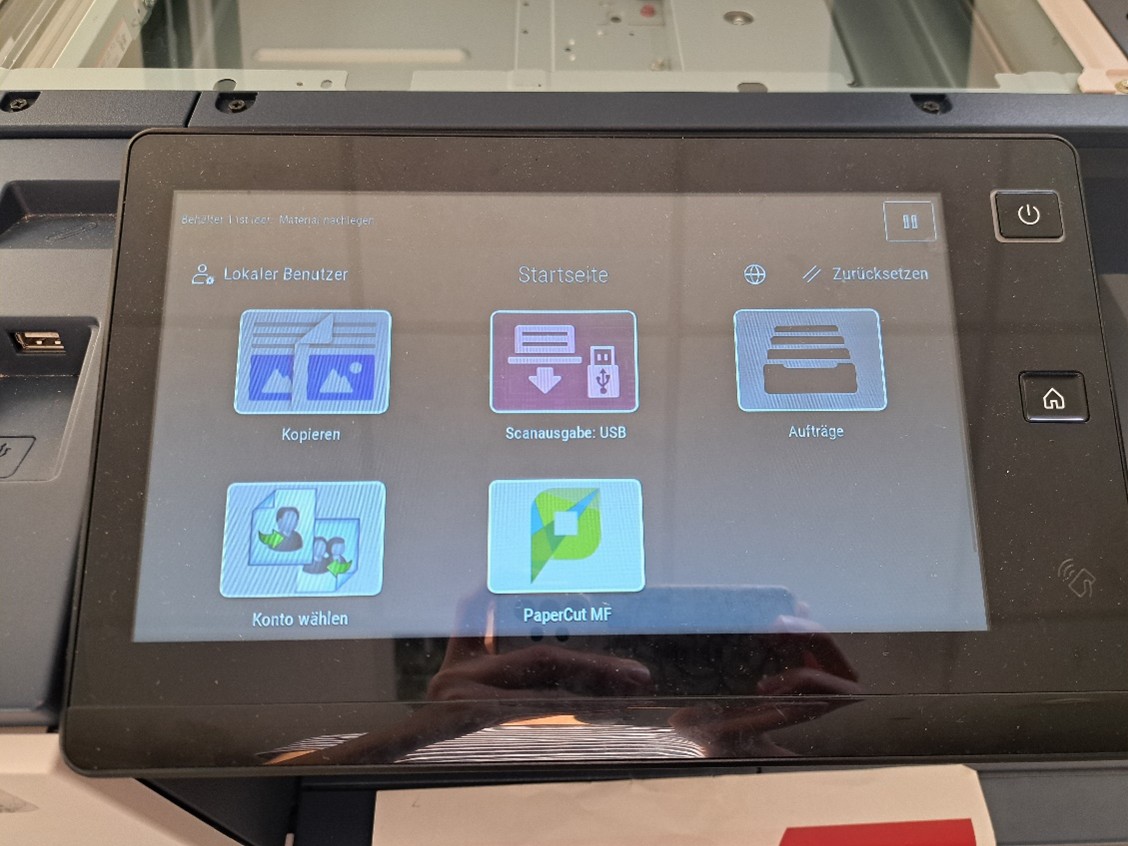
2. The printer's home screen will open. Tap jobs on the right side of the screen.
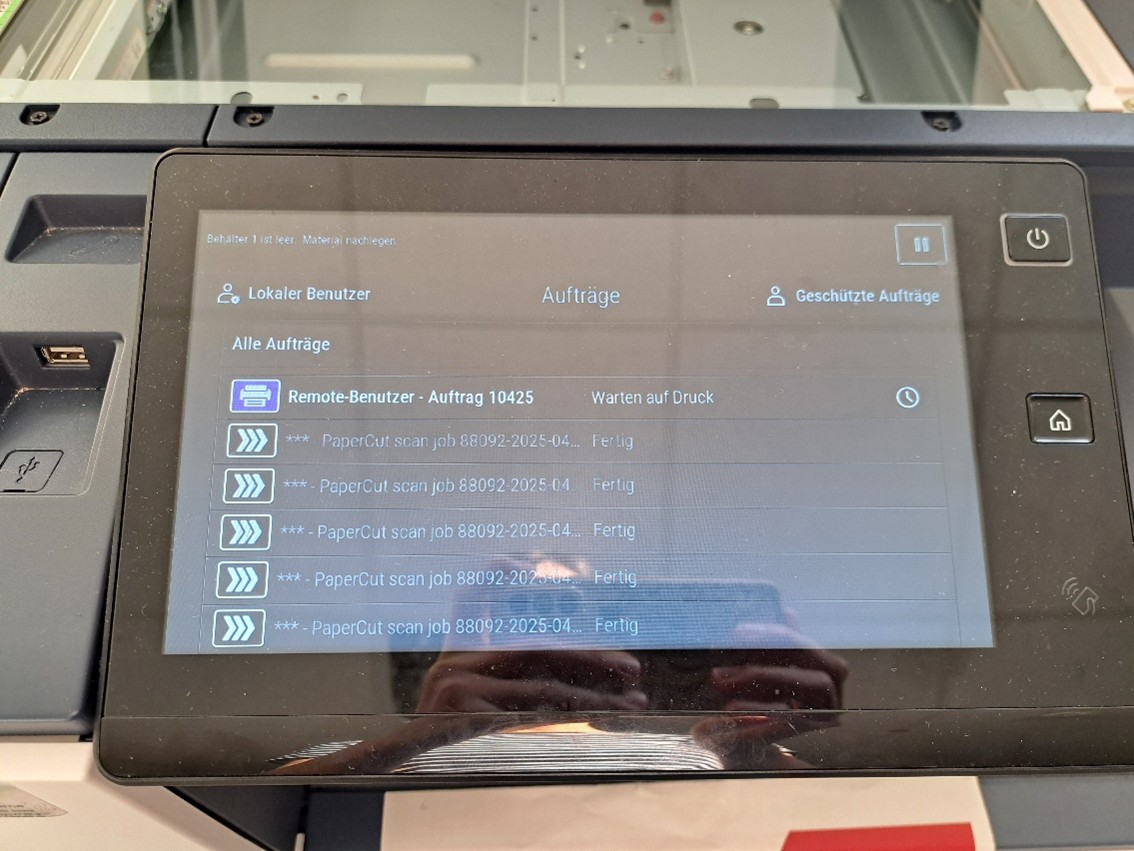
3. A list of jobs that have been released for printing will then open. The respective print jobs can be identified by the blue printer icon. Then tap on the print job you want to cancel.
4. A small dialog box opens with the options delete, job progress, and job data. To cancel the corresponding print job, tap delete.
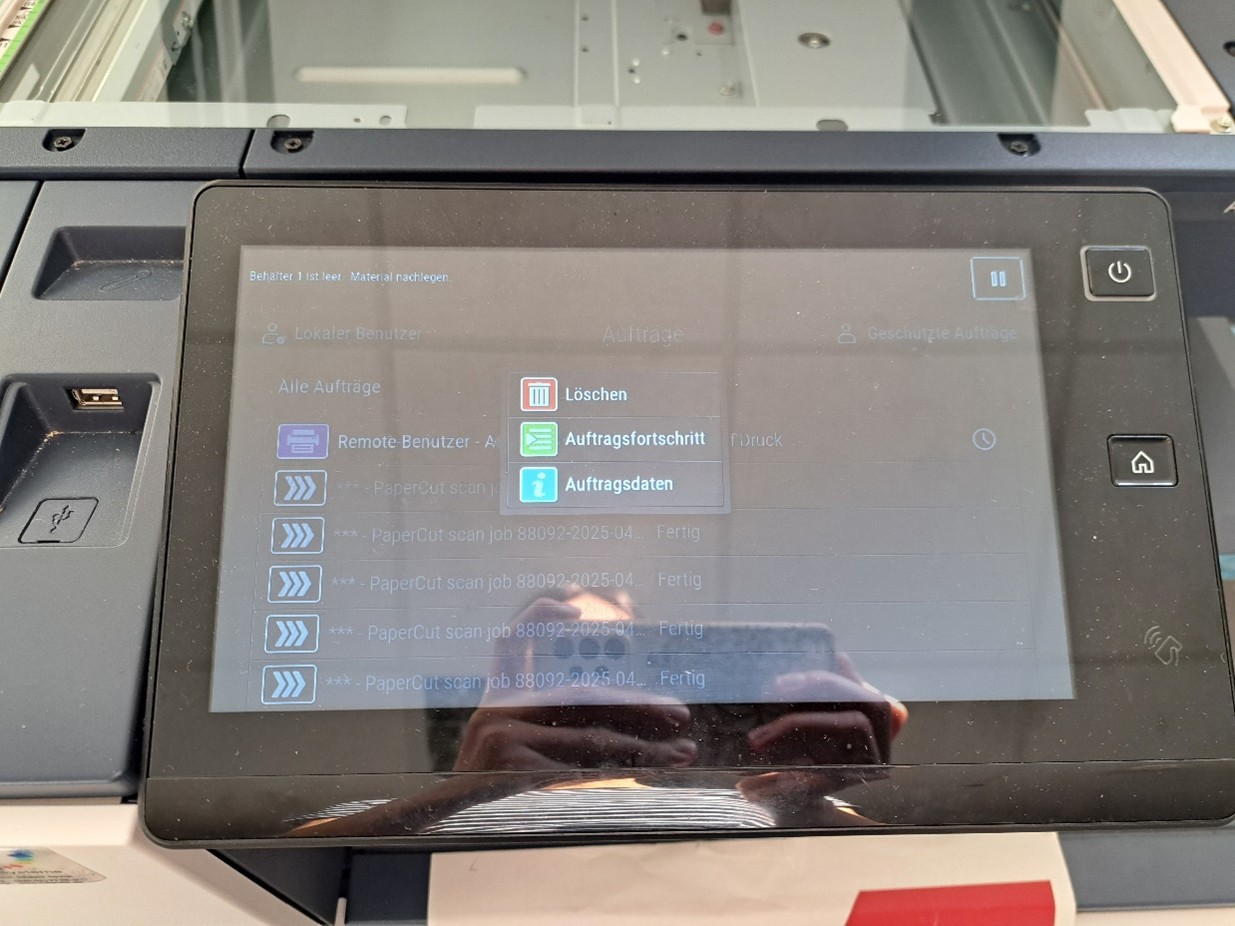
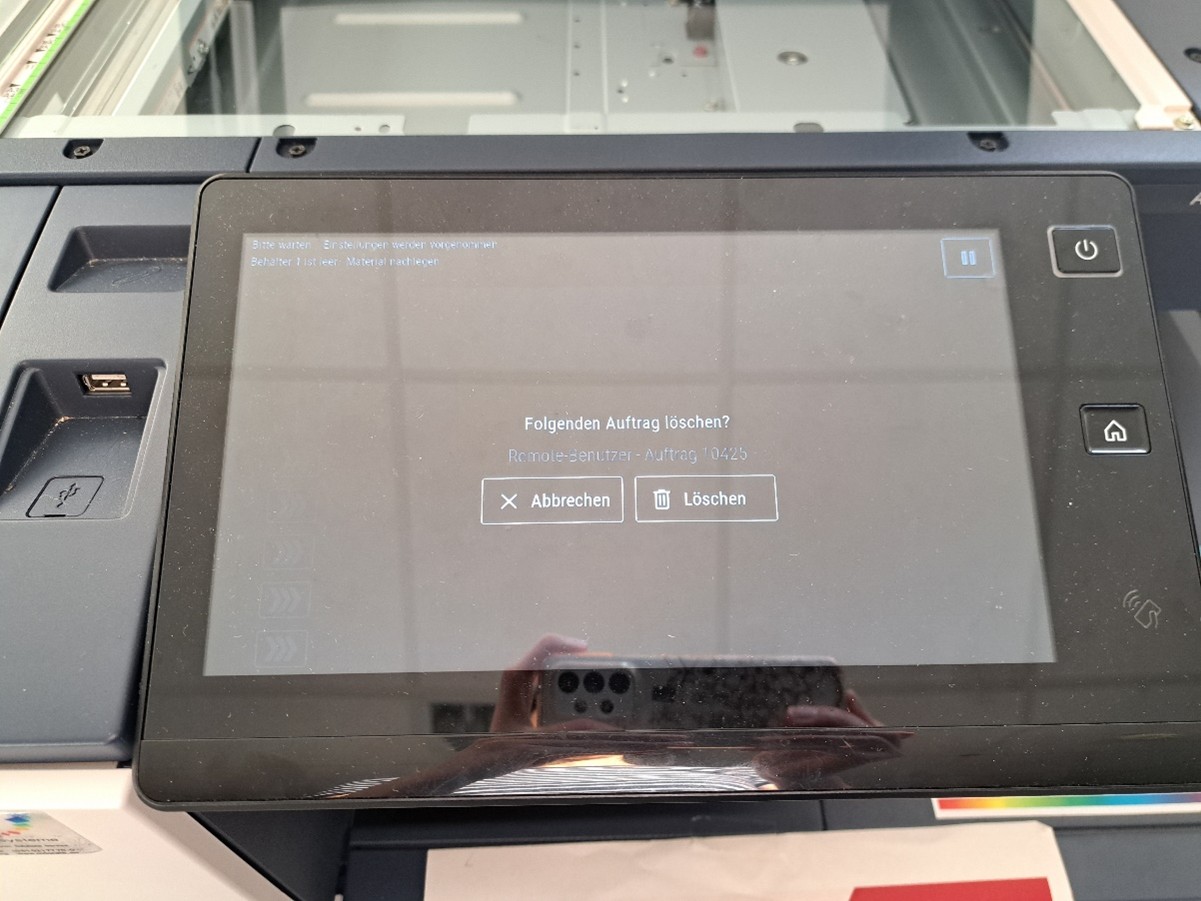
5. Another dialog box will then open, in which you can confirm the cancellation of the print job by tapping delete again.
Xerox C410
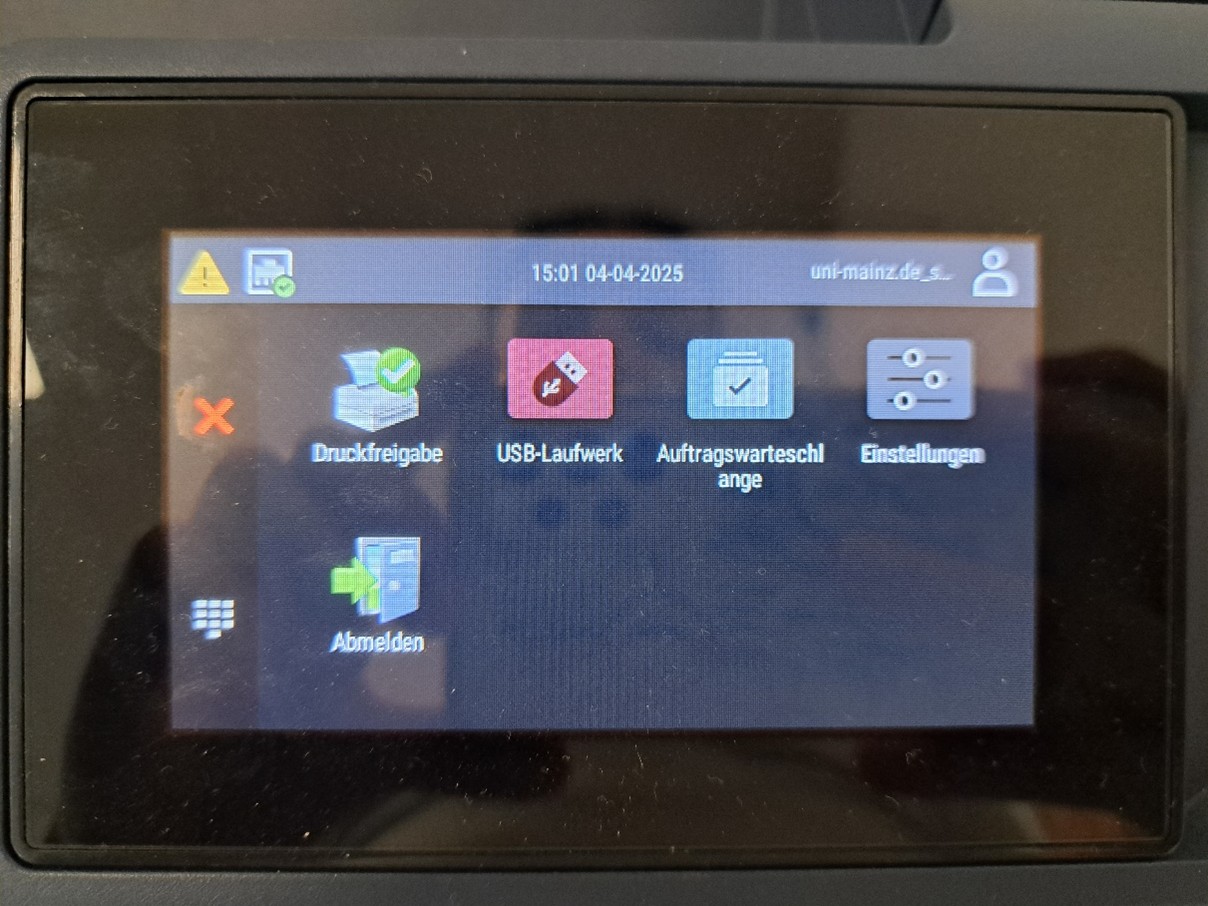
1. If you have already released the print job but now want to cancel it, press the home button on the bottom menu bar of the screen.
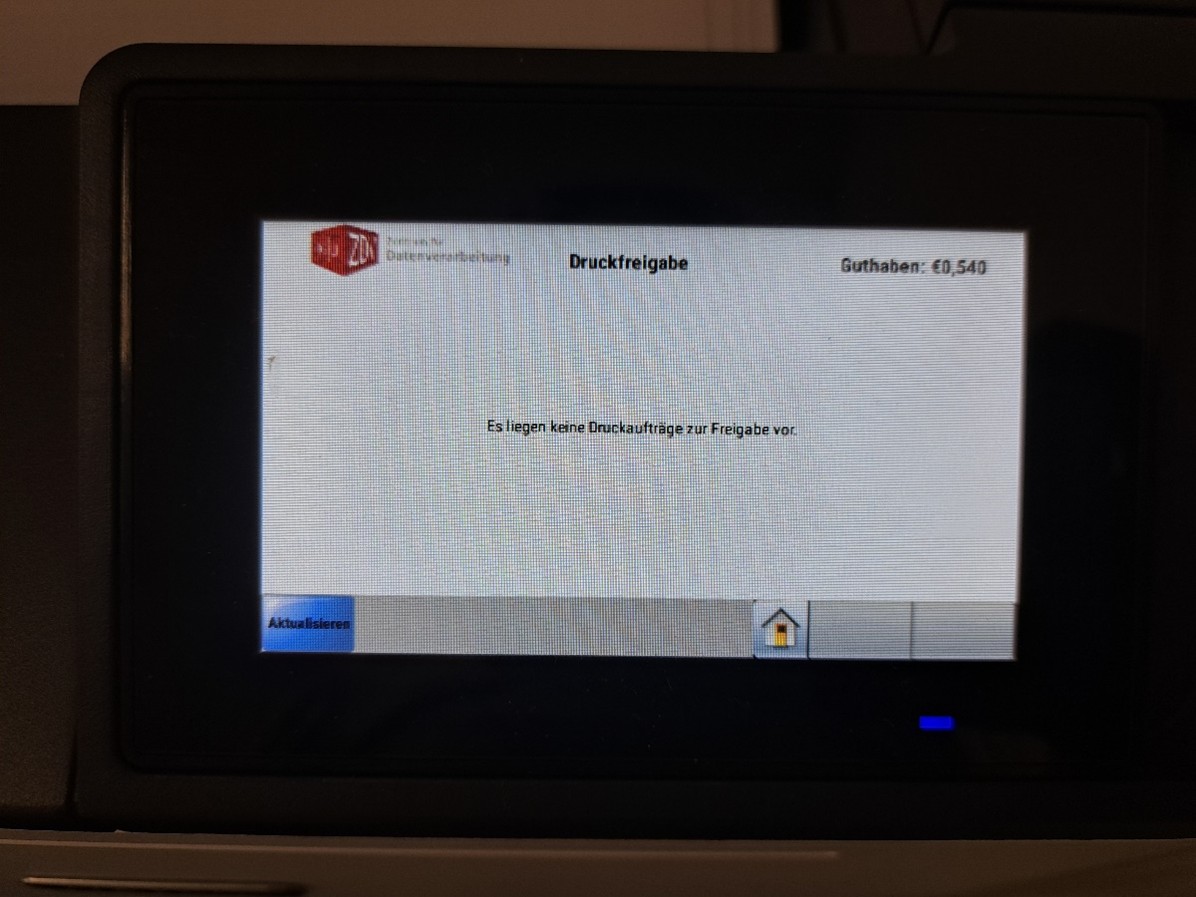
2. The printer's start menu will open. Tap on the gray field labeled “job queue.”
3. A list of jobs that have been released for printing will then open. Tap the three lines in the upper left corner to open the menu.
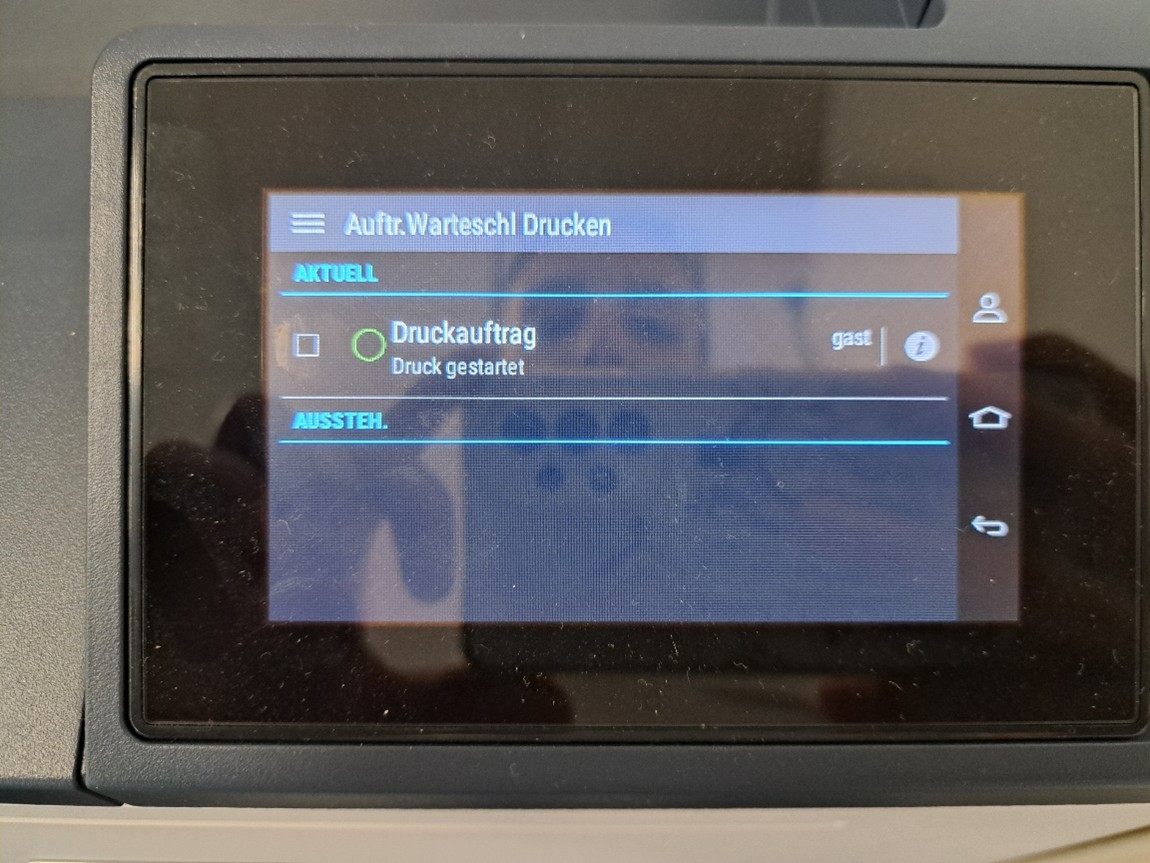
4. In the menu bar that opens on the left, tap overview.
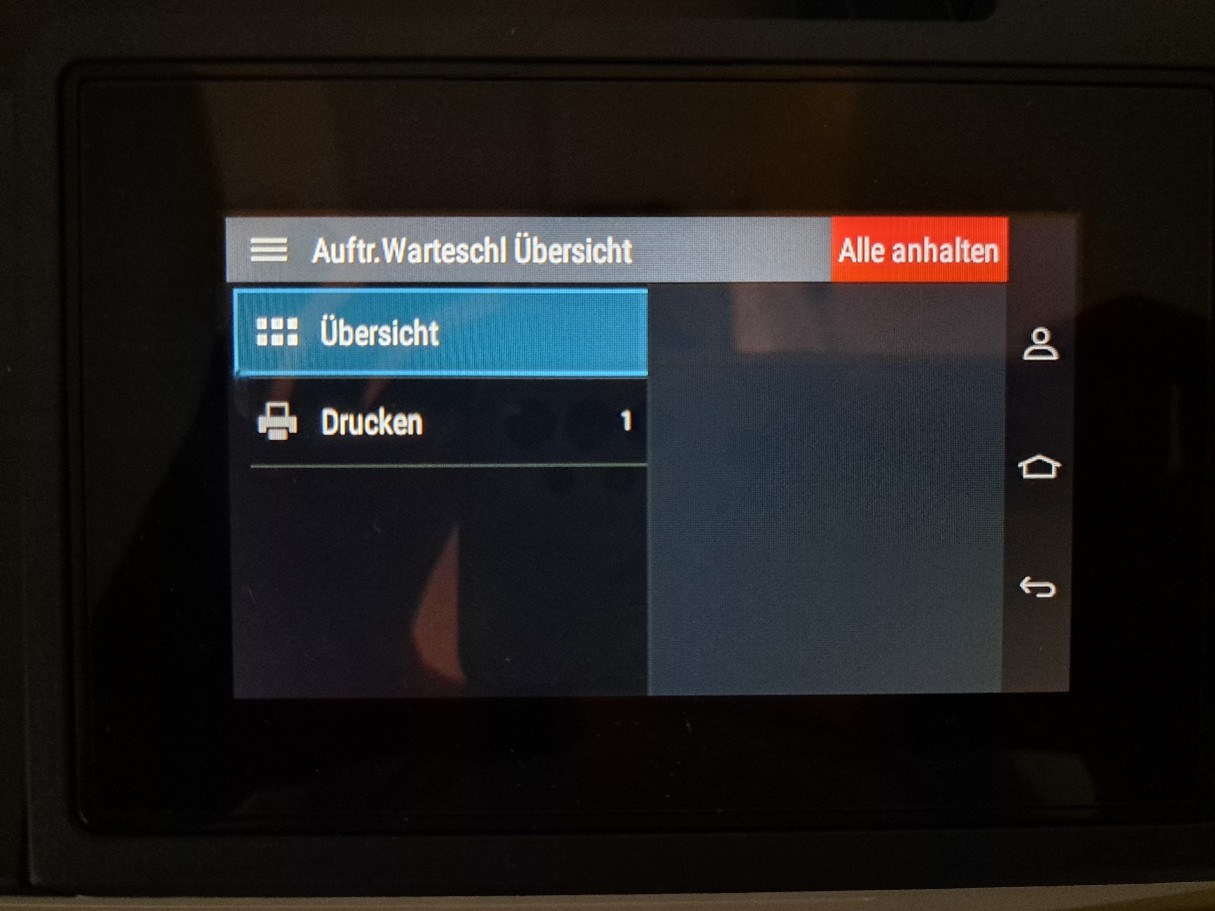
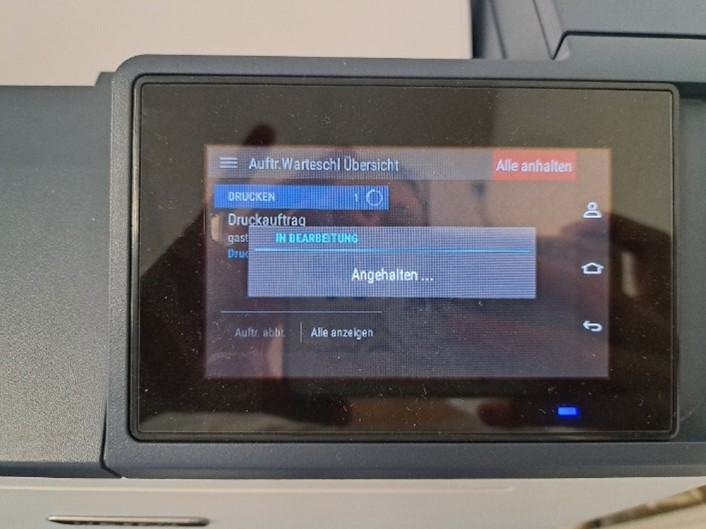
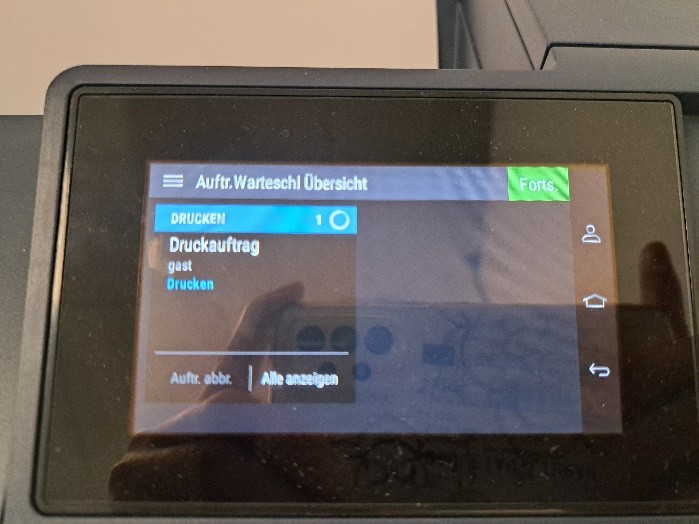
5. This will open an overview of all jobs currently being printed. A red box labeled stop all will also appear in the upper right corner. Tap the corresponding box.
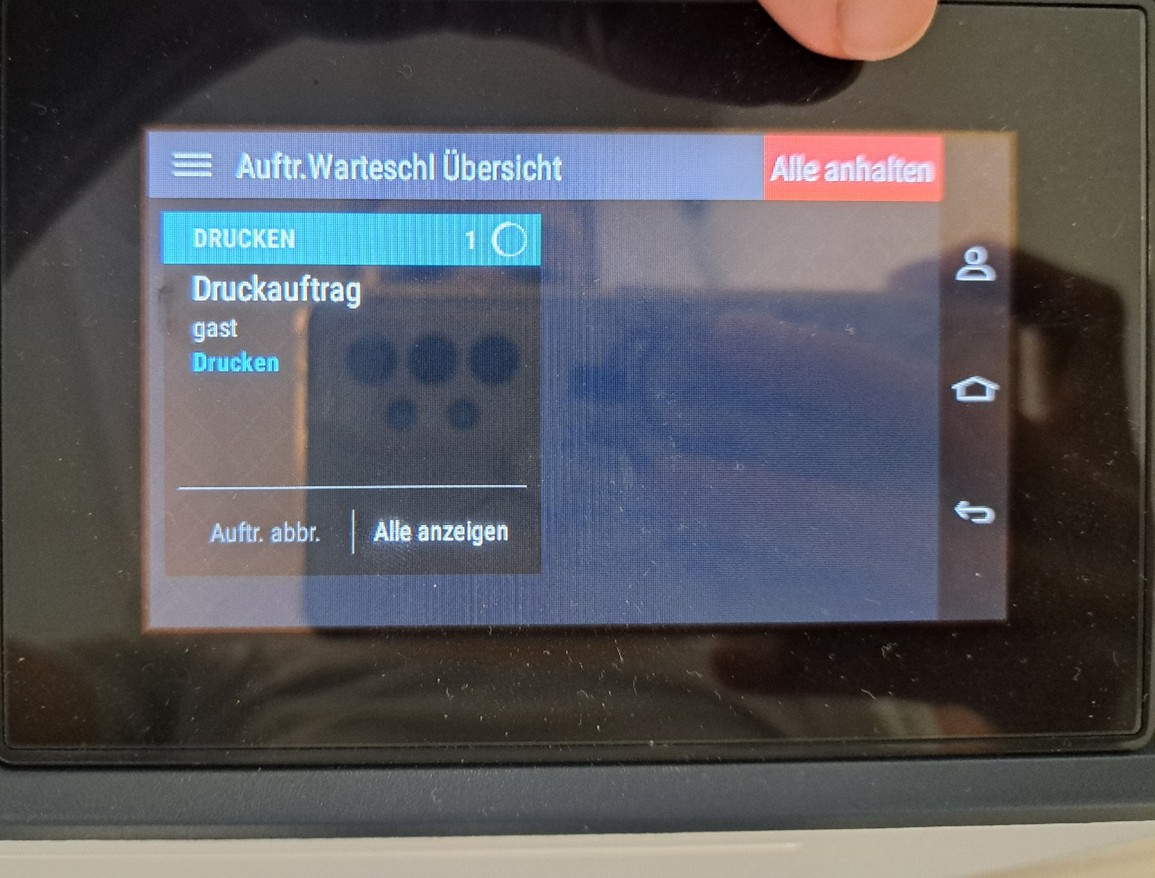
6.The print job is paused and the red box in the right-hand corner changes to a green box labeled resume so that the job can be resumed if necessary.