You may also access the Data Center storage space with iPhone oder iPad devices, provided that you have a suitable app installed. In this example we used WebDAVNavigator, but the procedure described here should be usable for other apps along the same lines. We have tested the following apps: OverTheAir (free of charge), iFiles, iStorage HD, GoodReader.
Please note: We don't recommend saving your password on mobile devices. If you leave blank the corresponding field, you will be asked for your password every time you establish the connection. This is somewhat cumbersome but will save you a lot of trouble if you ever lose your device.
Configuring the Server
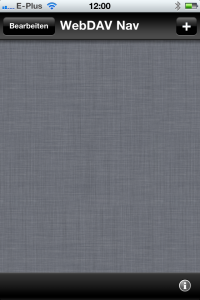
To establish a connection to the home directory of your unversity account you have to configure a new server. Here the button Bearbeiten is used.
The following settings are needed for the server:
Name (uni-mainz or similar, this is just for your identification of the connection)
Server-Address: → https://webdav.uni-mainz.de
User name and password of your JGU account.
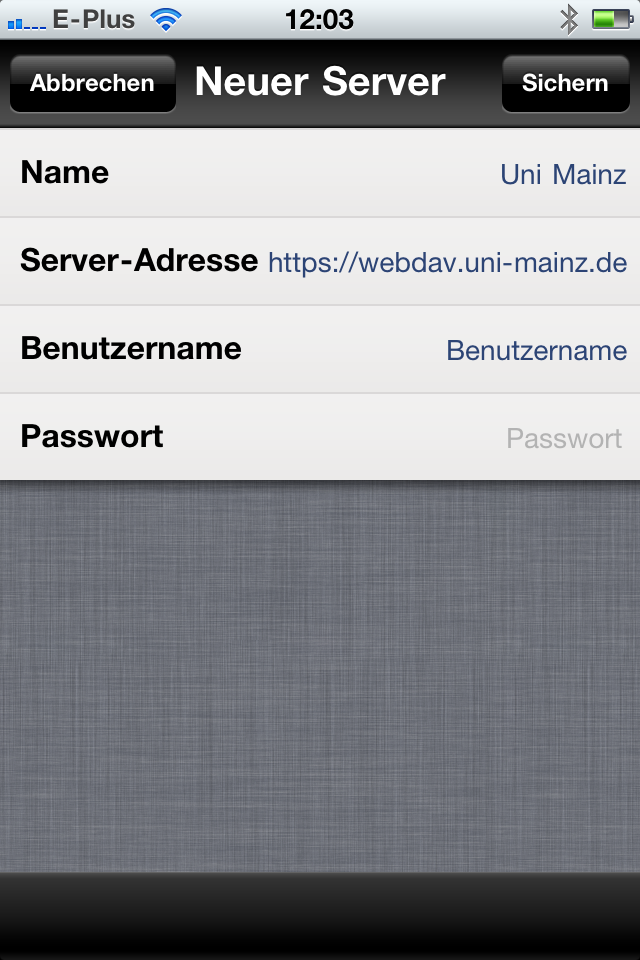
Save the connection with Sichern.
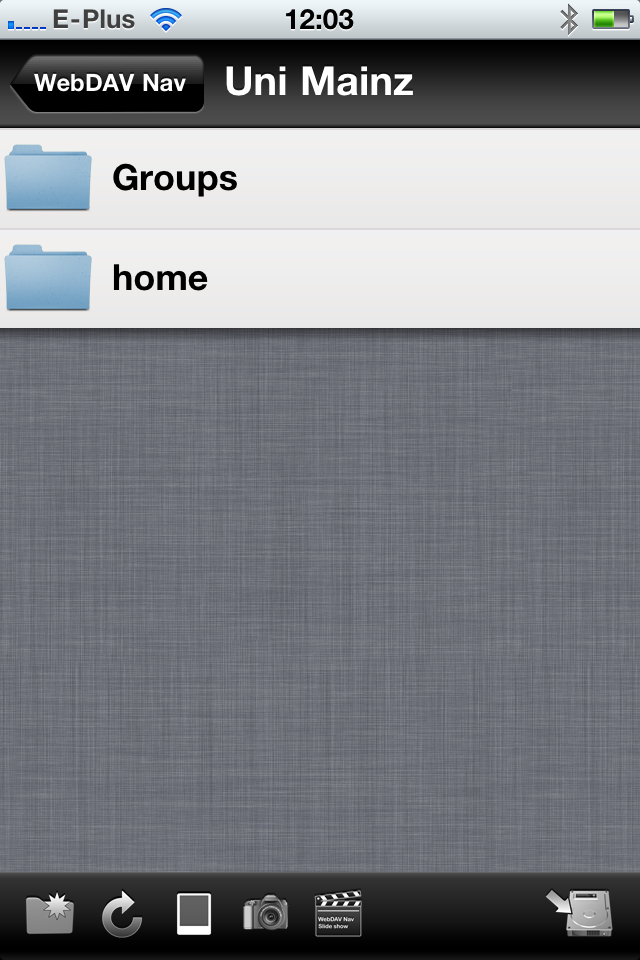
Accessing the Home or Group Directory
If you select the connection, then you will be shown your home directory below home, below Groups you may access your group directory.
 You may also access the Data Center storage space with Android devices.
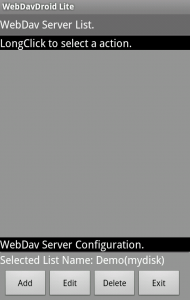
We have tested this with WebDavDroid Lite (available for free in the market). But the precedure described here should work in the same way for other apps.
Configuring the Server
To establish a connection to the home directory of your JGU account you have to configure a new server. Here, this is done via the Add button.
The following settings are needed:
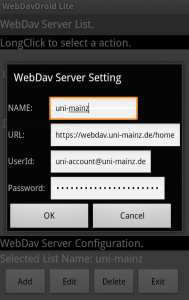
- Name: the name of the connection used by the Webdav app. All you have to do is recognize it as what it is. You might name it 'uni-home' or 'webdav uni' or something similar.
- URL: https://webdav.uni-mainz.de/home
- UserId: yourusername@uni-mainz.de (please note: this is not your mail address, even if it looks similar)
- Passwort: your password for your JGU account. On mobiles devices we would recommend not to save the password on the device - if you do not enter your password here you will be asked for the password whenever you are establshing the connection. Although that is more arduous it could save you a lot of trouble in case your device gets lost or stolen.
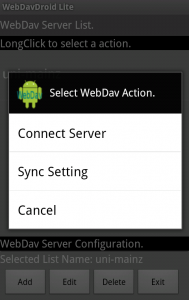
Establishing the Connection
Now you can establish the connection: Tip at the server name for a longer time, then choose Connect Server:
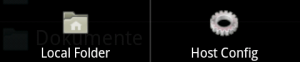
After that you may choose the directory to be looked at or worked with:
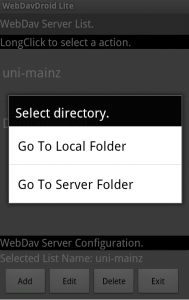
Local Folder, if you want to send files from your Android device to your university home directory.
Server Folder, if you want to download files from your university home directory.
After a long touching of a single file you can use the following menu and choose the desired action:
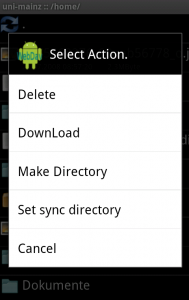
Changing between local and remote directory (i.e. between your Android device and the university home directory) is done be touching the menu button - here you may choose the respective other folder.
Connect to your home folder
Inside your file manager, open the address bar by pressing Ctrl + L.
Enter the address:
davs://webdav.uni-mainz.de/home/ (This will work on most desktops.)
or
webdavs://webdav.uni-mainz.de/home/ (If you use KDE as your desktop environment.)

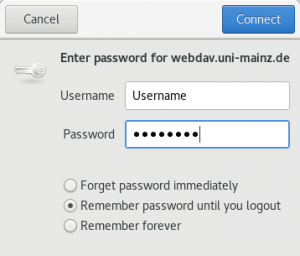
This opens a login window. Enter your university user name and password.
You should now see your home folder.
The folder is also displayed inside your left overview panel, right click on it to create a bookmark.
Connect to your group folder
You can also connect to a group folder, if you have the rights to access this folder.
Open the address bar by pressing Ctrl + L inside your filemanager.
Enter:
davs://webdav.uni-mainz.de/groups/ [Your Department]/[Name of Group Folder]/
or (if you use KDE.)
webdavs://webdav.uni-mainz.de/groups/ [Your Department]/[Name of Group Folder]/
[Your Department] is normally the number of your faculty.
example: davs://webdav.uni-mainz.de/groups/70/zdv
This opens a login window, enter your university username and password. You should now see your home folder.
The folder is also displayed inside your left overview panel, right click on it to create a bookmark.
The Webdav protocol enables users to connect to their home directory (drive U:) from their PC (at home or anywhere else outside of the university network), so they can access the data there, work with them and simply use those directories as online storage space.
If you have been granted access to group directories, Webdav may also be used to connect to those directories. For Webdav connections VPN is not required.
Instructions for your operating system are to be found here:
Instructions for non-Windows operating systems may be found within the collections of documentations specific to the following operating systems:


 You may also access the Data Center storage space with Android devices.


