Click the Start button (the Windows icon at the very bottom left of the screen), or press the Windows key on the keyboard. Type firewall in the search box (just type directly without clicking anywhere).
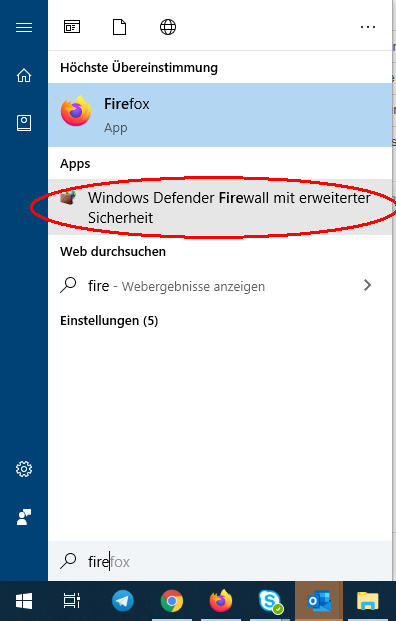
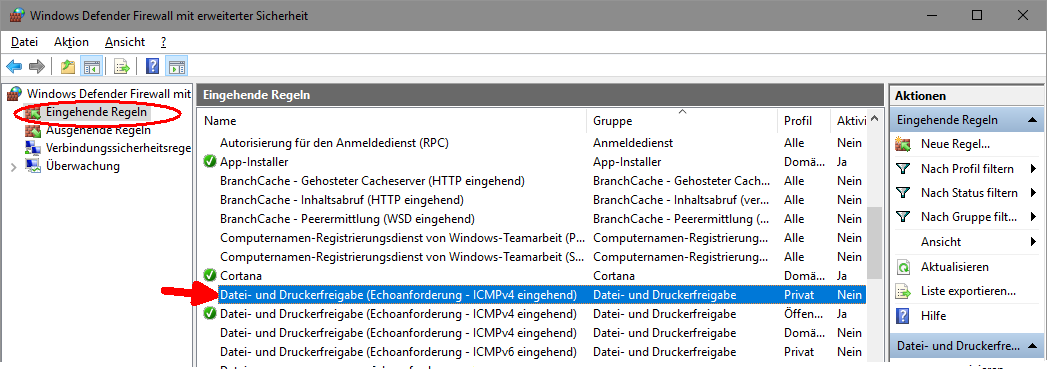
Select "Windows Defender Firewall with Advanced Security". In the following window, select Incoming Rules on the left. Then locate the "File and Printer Sharing (Echo Request - ICMPv4 Incoming)" rules. Double-click on the top rule.
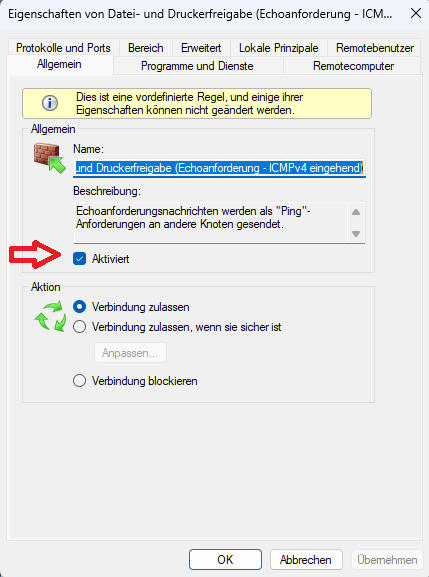
The properties window opens. In the General tab, the Enabled checkbox must always be checked.
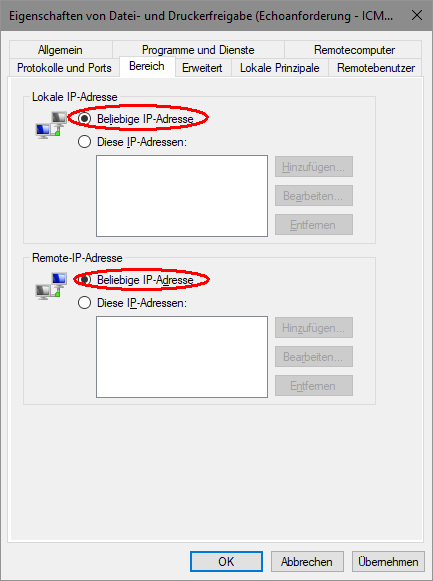
The properties window opens. In the Area tab, set Any IP address for both the local and remote IP addresses.
Click Apply and switch to the Advanced tab. Place a check mark for all three profiles.
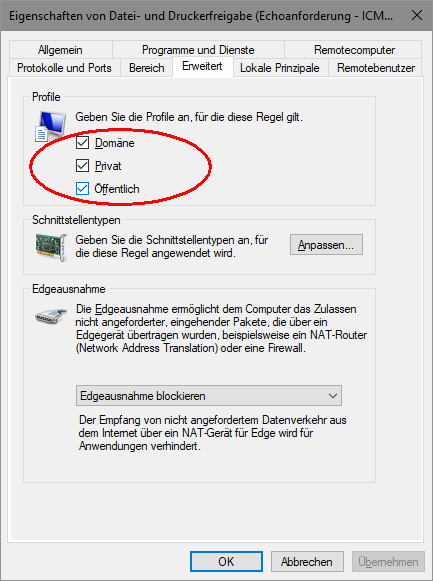
Click Apply and OK. Close the Windows Defender Firewall window. This sets the firewall so that the computer responds to ping requests and is no longer kicked off the network for inactivity.
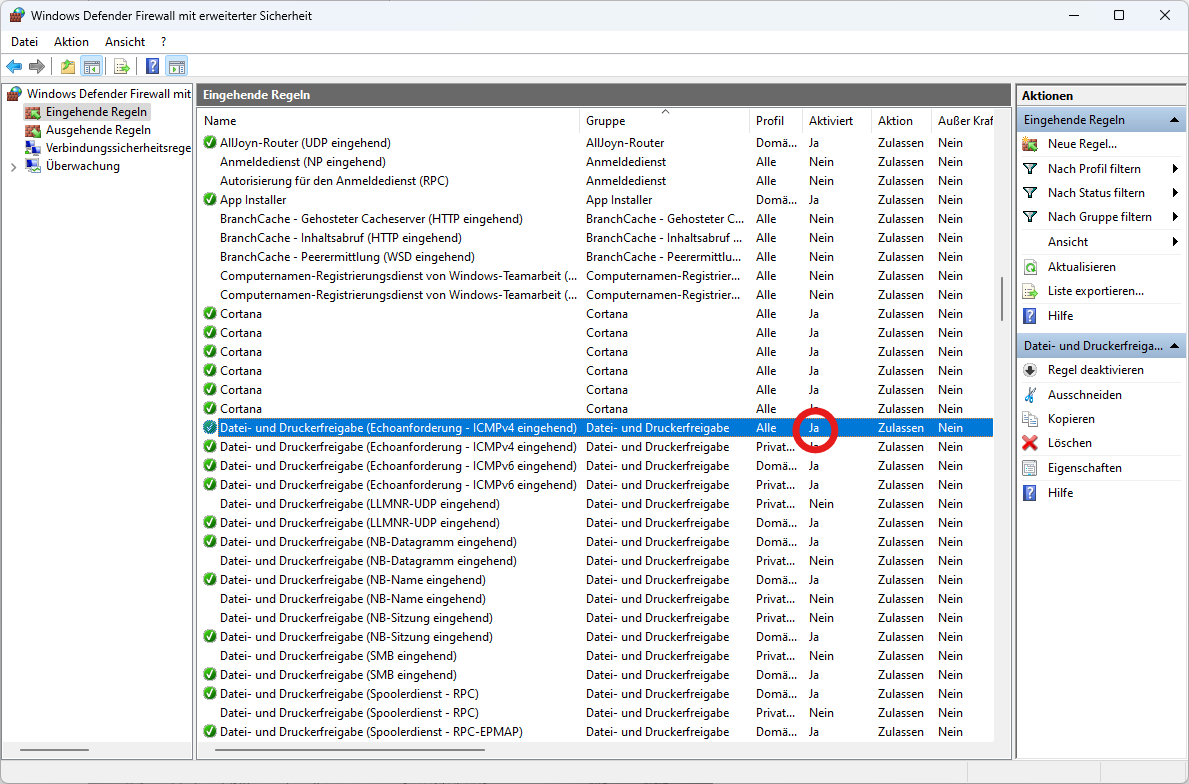
Only then does the “Windows Defender Firewall with enhanced security
Security” for the previously 2x-clicked ‘File and Print Sharing IPv4’ under
Profile “All” and “Enabled” = “Yes”